How To Clear Your iCloud Storage in 8 Easy Steps
DataProt is supported by its audience. When you buy through links on our site, we may earn a commission. This, however, does not influence the evaluations in our reviews. Learn More.
Cloud storage is a great way to keep your photos and files safe, but it can take up a lot of space. So, if you’re running out of room on your iCloud, you may need to clear some of the storage. We’ll go through several effortless steps and show you how to clear your iCloud storage. Moreover, we will offer solutions that will help you maintain your storage at optimum levels.
Find Out What’s Taking the Most Space on Your iCloud
iCloud is one of the most popular types of cloud storage. With it, you can store not only pictures and videos but also contacts, text messages, and documents. When you open your iCloud, you’ll have an overview of all the categories showing your data and how much space each category is taking takes up.
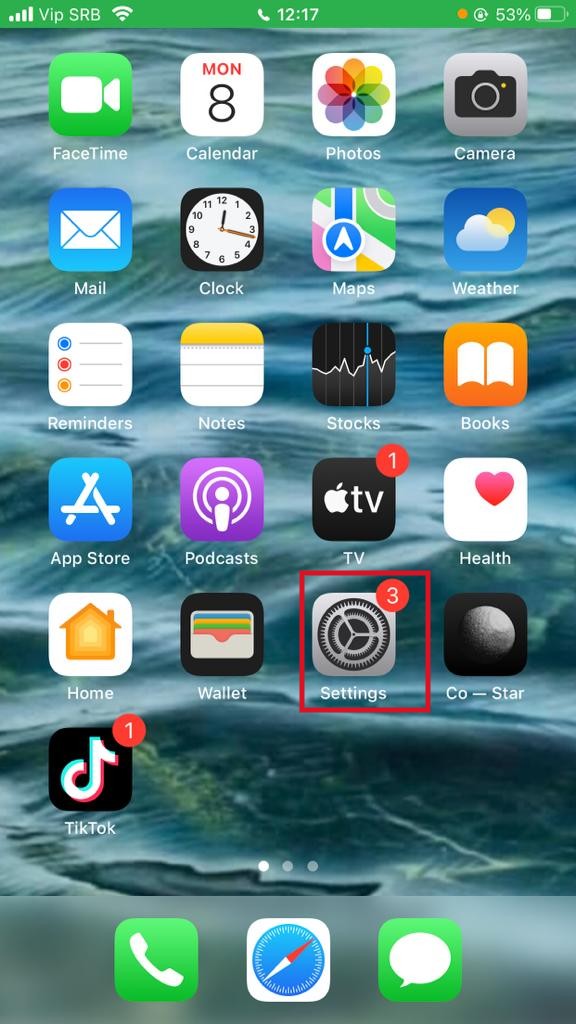
To access this and see what is stored on your iCloud, go to:
- Settings

- Apple ID
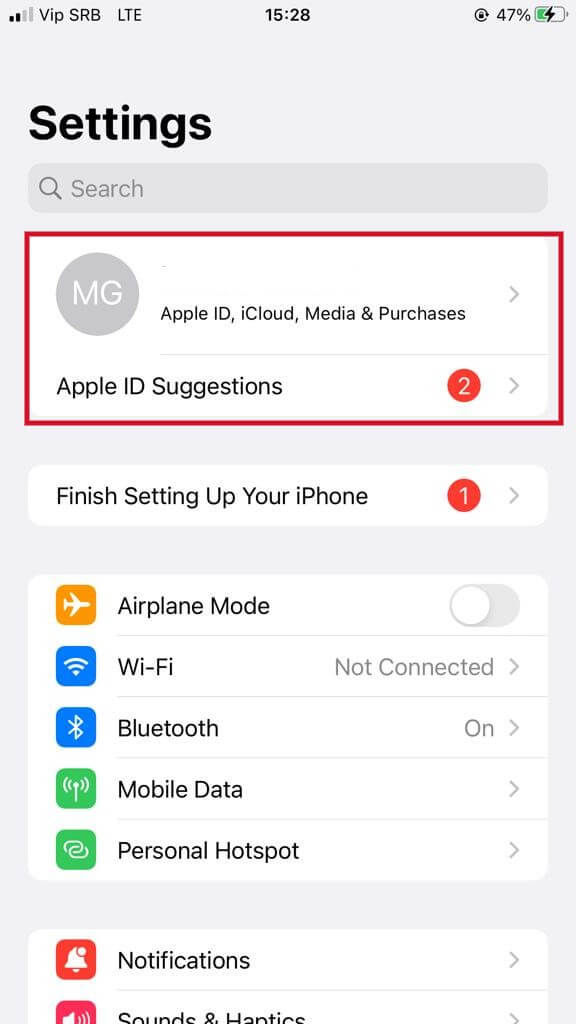
- iCloud
- Manage Storage

From here, you can see which category is taking up the most space and focus on removing files from it so that you free up storage.
Delete Old Messages and Attachments
Although a few text messages won’t hog space, people who text regularly and never delete chats can collect more than a gigabyte that stays on the cloud. This amount can really skyrocket in cases where a lot of media and emojis are included.
For this reason, it would be wise to delete the messages you no longer need. If you’ve decided to free up some space, you can start from here and see how much storage you get by deleting redundant messages and attachments. Maybe that will enable some of the more important files, documents, and photos can stay on your device.
To do this, go to:
- Messages

- Choose a message and swipe left

- Tap the trash icon
- Tap Delete
However, keep in mind that sometimes the attachments from your messages are the main culprits, so getting rid of them might solve the problem. If you want to keep your messages but remove attachments, you can do it by following these steps:
- Tap the contact’s name

- Tap on the info button
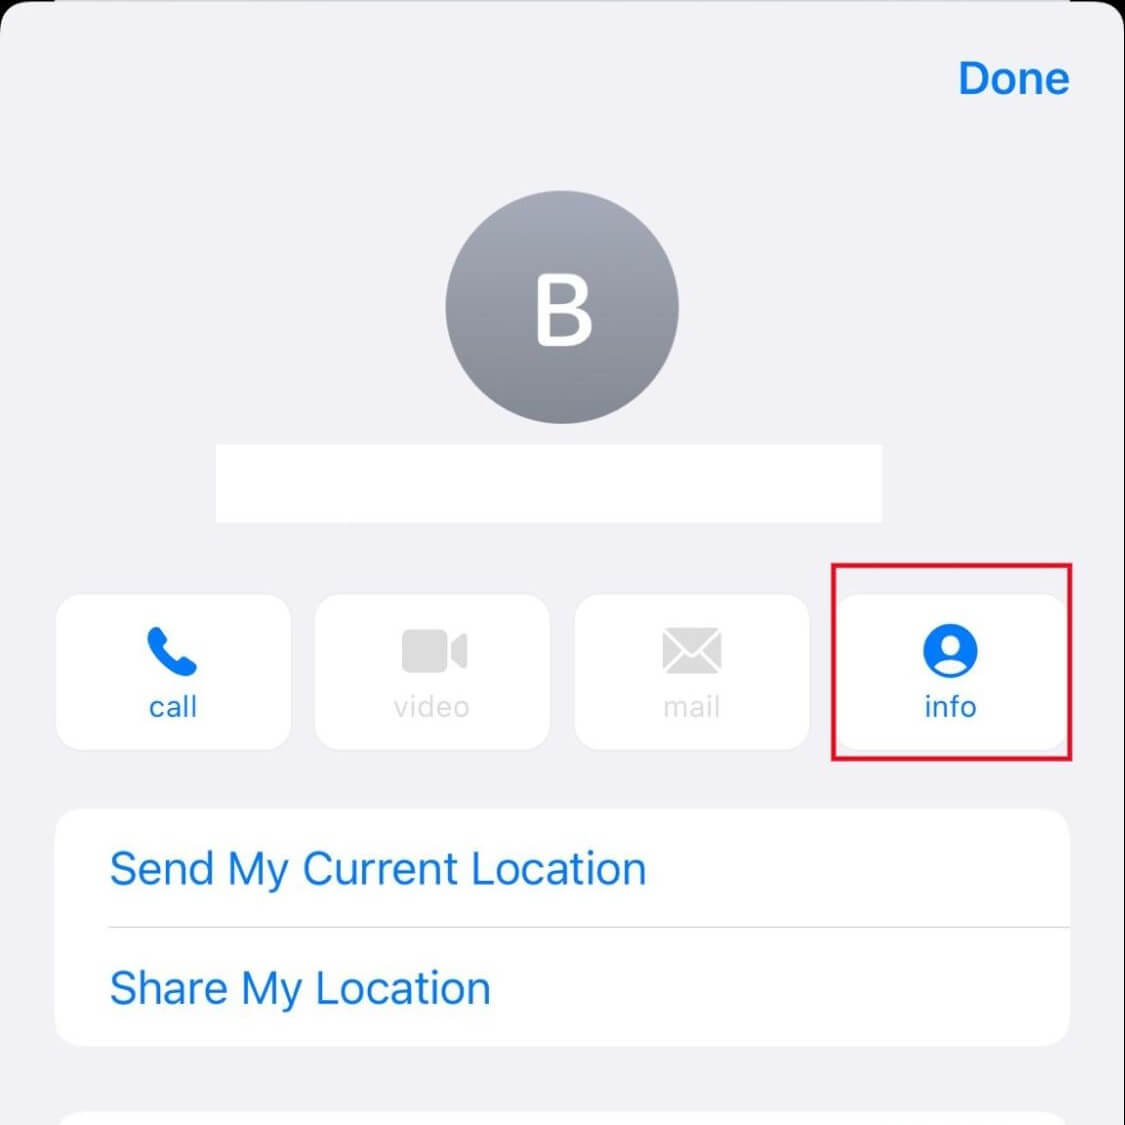
- Tap See All Photos

- Choose the photos you want to delete
Delete Files from iCloud Drive
Over the years of using your iCloud, numerous files are stored on your iCloud Drive without you even noticing. In most cases, this is data you don’t need anymore, so it might be a good idea to check if there are any files in there that you can get rid of. To do this, you should go to:
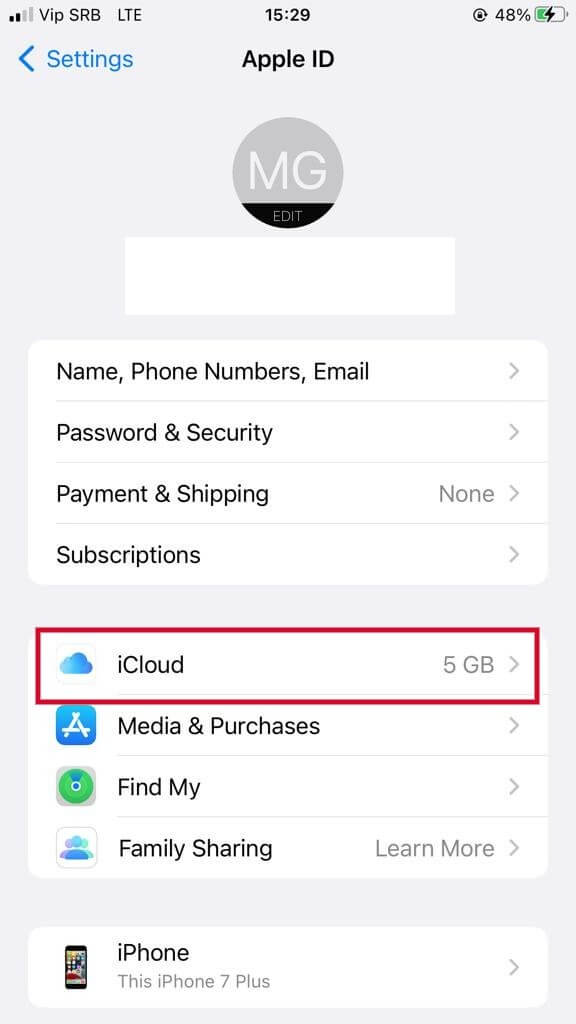
- Settings

- Apple ID

- iCloud

- Manage Storage

- iCloud Drive

- Swipe left and delete
Get Rid of Unwanted Photos
Your photos app is usually the first place you should go if you want to free up some space on your iCloud. Some of the photos in your gallery are duplicates, others were never meant to be there in the first place, and there are heaps of material which you can do without.
If you want to remove only selected photos, you’ll have to do this on iCloud on your desktop, as doing so on your iOS device won’t be possible because you’d have to delete all photos.
To do this, follow these steps:
- Log in to your iCloud
- Navigate to the Photos App

- Select the photos you want to delete
- Tap Delete
However, you may notice that even after you’ve deleted the photos, you haven’t managed to free up any storage on iCloud. This might be due to your deleted photos still being in the Recently Deleted folder, and you’ll need to permanently delete these.
Delete Voice Memos From Your iOS Device
If you prefer taking notes by recording voice memos instead of writing in your Notes app, or your job requires you to record voice memos regularly, this app can quickly pile up a lot of memos that take up a significant chunk of your iCloud.
This is only one of the ways you can get more storage on your iPhone without buying additional storage. You can do this on your phone, so there’s no need to log in to your iCloud on a computer. In order to delete your unnecessary voice memos, take the following steps.
- On your iPad or iPhone, open the Voice Memos app

- Find the voice memo, and swipe left

- Tap Delete
Export WhatsApp Chats to Your Computer
Many people around the world use WhatsApp for texting and calling. As these messages often include media and GIFs, they are one of the main reasons behind the full storage on your device. The good news is that you don’t have to get rid of your precious chats and media to free up some storage on your iCloud and your iOS devices.
One of the best strategies to manage iCloud storage is to export your WhatsApp chats to your computer and then delete everything from your iPhone or iPad. To do this, follow these simple steps.
- Open your WhatsApp

- Select a group or individual chat
- Go to Export Chat
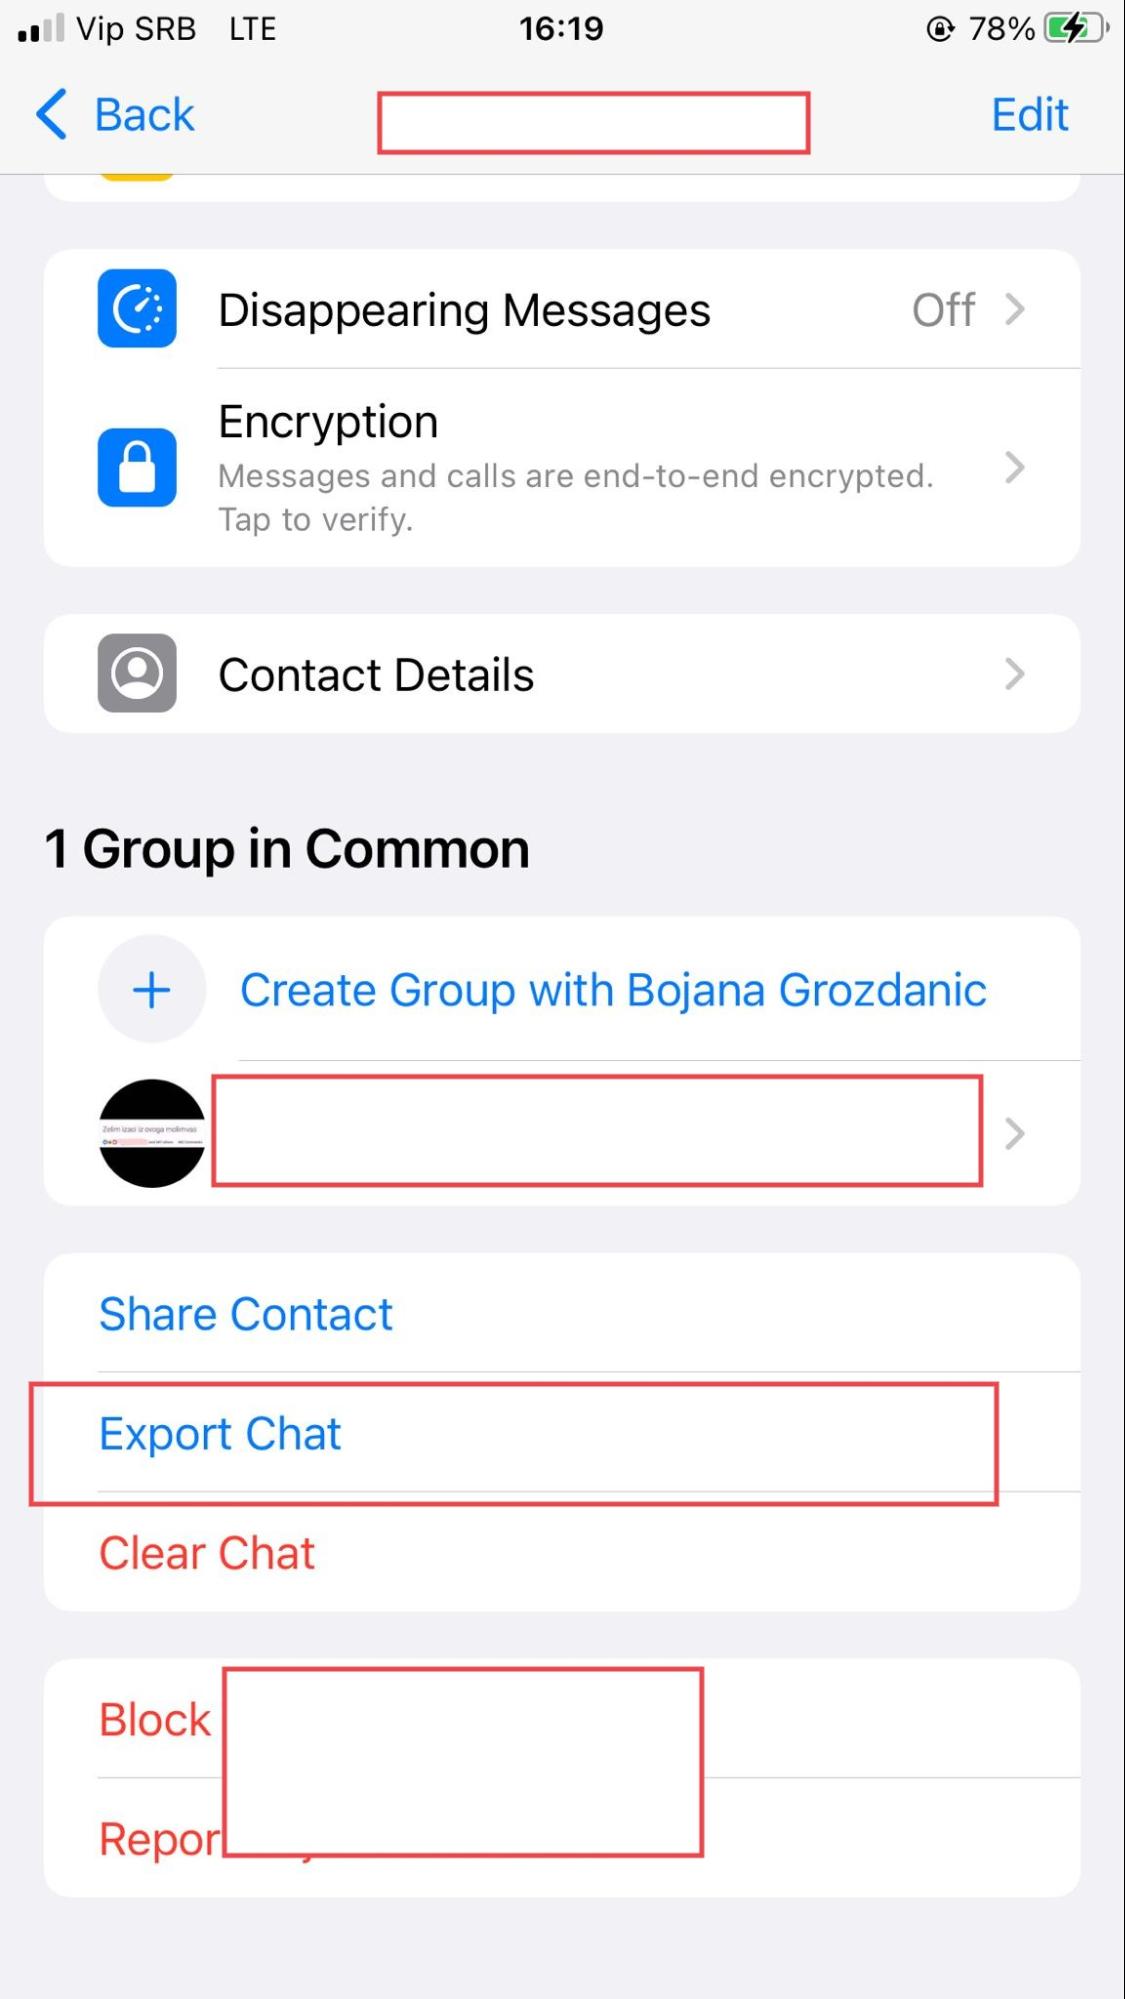
- Export chat with or without media
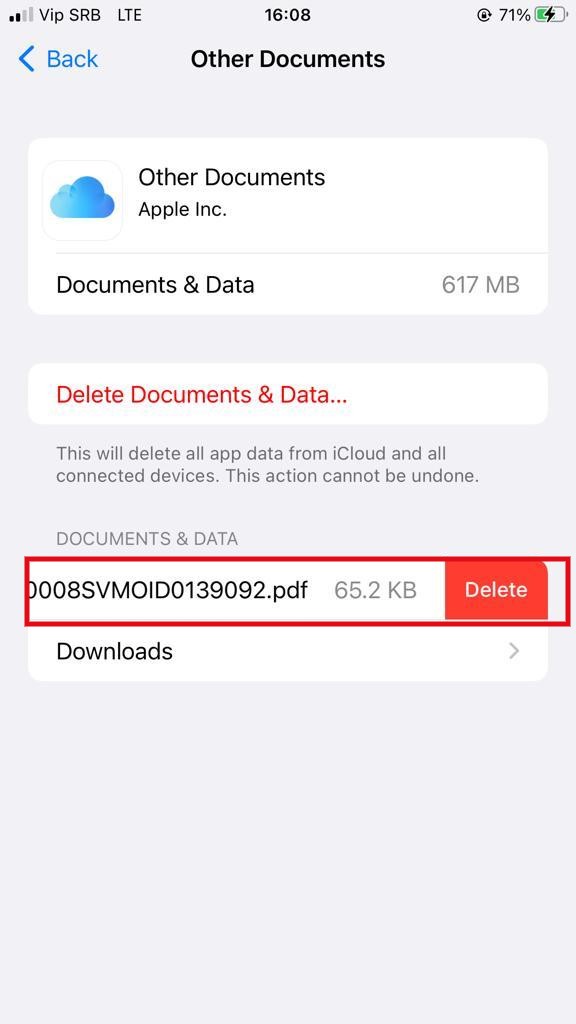
Clear Your Email Attachments
One of the reasons your storage has reached its maximum could be the email messages and attachments you receive on a daily basis. There are ways for you to access your iCloud emails easily and see if the messages and attachments could be deleted to help you gain some more storage. Apple has made it easy for you to check this, and if needed, easily delete the content that’s clogging up your iCloud.
You need to go to:
- iCloud Mail

- Select Sort by Attachments

From there, you can choose to delete all emails with attachments or select a certain size and delete all emails with attachments that are greater than that size.
Delete iCloud Backups
Your iCloud backups are extremely helpful if you want to retrieve your data after you’ve lost access to your phone or iPad. It stores all the important information for you to view or download remotely, and it is probably one of the best features of smartphones.
However, some people don’t need their old backups, and automatically saving this information can take up a lot of valuable space. If you delete the backups, you might not have to delete photos from iCloud. You can choose to delete a specific backup by following these steps:
- Go to Apple ID

- Tap iCloud

- Tap Manage Storage

- Go to Backups

- Select a specific backup and tap Delete

Apart from this, you can restore your iOS device from a backup or export your iCloud backups to your computer using a third-party app.
Planning Ahead
Instead of going through your applications and files so that you can delete data and free up storage, you can simply take steps that will prevent piling up of data on your iCloud. One of the things you can do is take control of which files are backed up to your iCloud.
To do this, go to:
- Settings
- “Name”

- iCloud

When you see the apps that use iCloud, scroll down and check which app is toggled on. If you don’t want a certain app to be backed up to iCloud, simply toggle it off.

Bear in mind that you can skip all these steps and simply buy more storage for your iPhone, without having to delete files from iCloud. This option might be the easiest one, as you won’t have to decide which files you need to delete to continue using your phone without interruptions.
Bottom Line
If you’re frequently running into the problem of full storage on your iCloud and iOS devices, these tips will help you get rid of the data and content that’s taking up too much room. Make sure to go through all of these steps if you want to clear as much data as possible. As a result, you’ll be able to continue using your iCloud without receiving notifications about the need to upgrade your storage.